Calling All Rumplestiltskins

Warp all dyed and ready to put onto the loom.
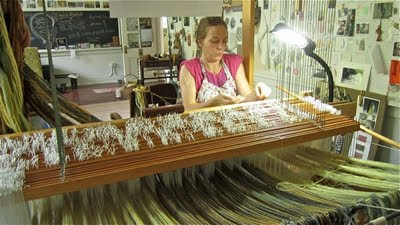
After five months of winding out a warp for five new wall hangings and dyeing it to specification so that an ikat wash effect will occur, I am finally threading it onto the dobby loom. I have worked six days a week for three weeks getting this warp on, enlisted the help of brave relatives, and, even though I still have 3-4 yards to wind on, the light is definitely shining at the end of the tunnel. It's good to have a timeline for how long it really takes in hours to get one of these beastly warps onto my loom. A month!

Here's a little photographic journey of what's involved in warping 16 harnesses at 40 ends per inch with hand-dyed yarn for a big project like a coverlet. See all that mass of yarn hanging on the end of the loom up above? It all has to be threaded through the reed, the little wire spacer that the yarn is going through in the photo below:

While the reed sets your yarn spacing, the pattern is created (partly - treadling also makes pattern) by where each warp thread goes on each harness. So first you thread through the reed and THEN through a heddle (those little white things hanging behind the reed in the picture above). Below is the threading pattern. This is where I get to "cheat" a little - since I'm not changing the pattern of threading from the last warp that was threaded through there, I can just tie the new warp onto to the old one and pull it through the harnesses. Except for where I added width (i.e. new threads) on either side...

Threading:
Then I tie the threaded ends of the warp onto a beam at the back of the loom:
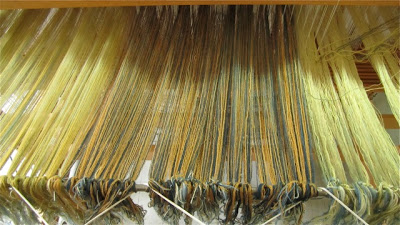

and walk around to the front and pull on the loose ends to straighten and separate them so that they can be pulled through the reed and harnesses and wound on to the back beam of the loom.
Here's the view from underneath the canopy of warp as it's wound on.

All of these nicely wound up balls of alpaca (thanks Mom!) will then be woven in to make...


...one of these!